Hiking down steep hills poses its own challenges, particularly to the knees. These 17 strategies to use before, during, and after hiking can help reduce your risks and recover quickly.
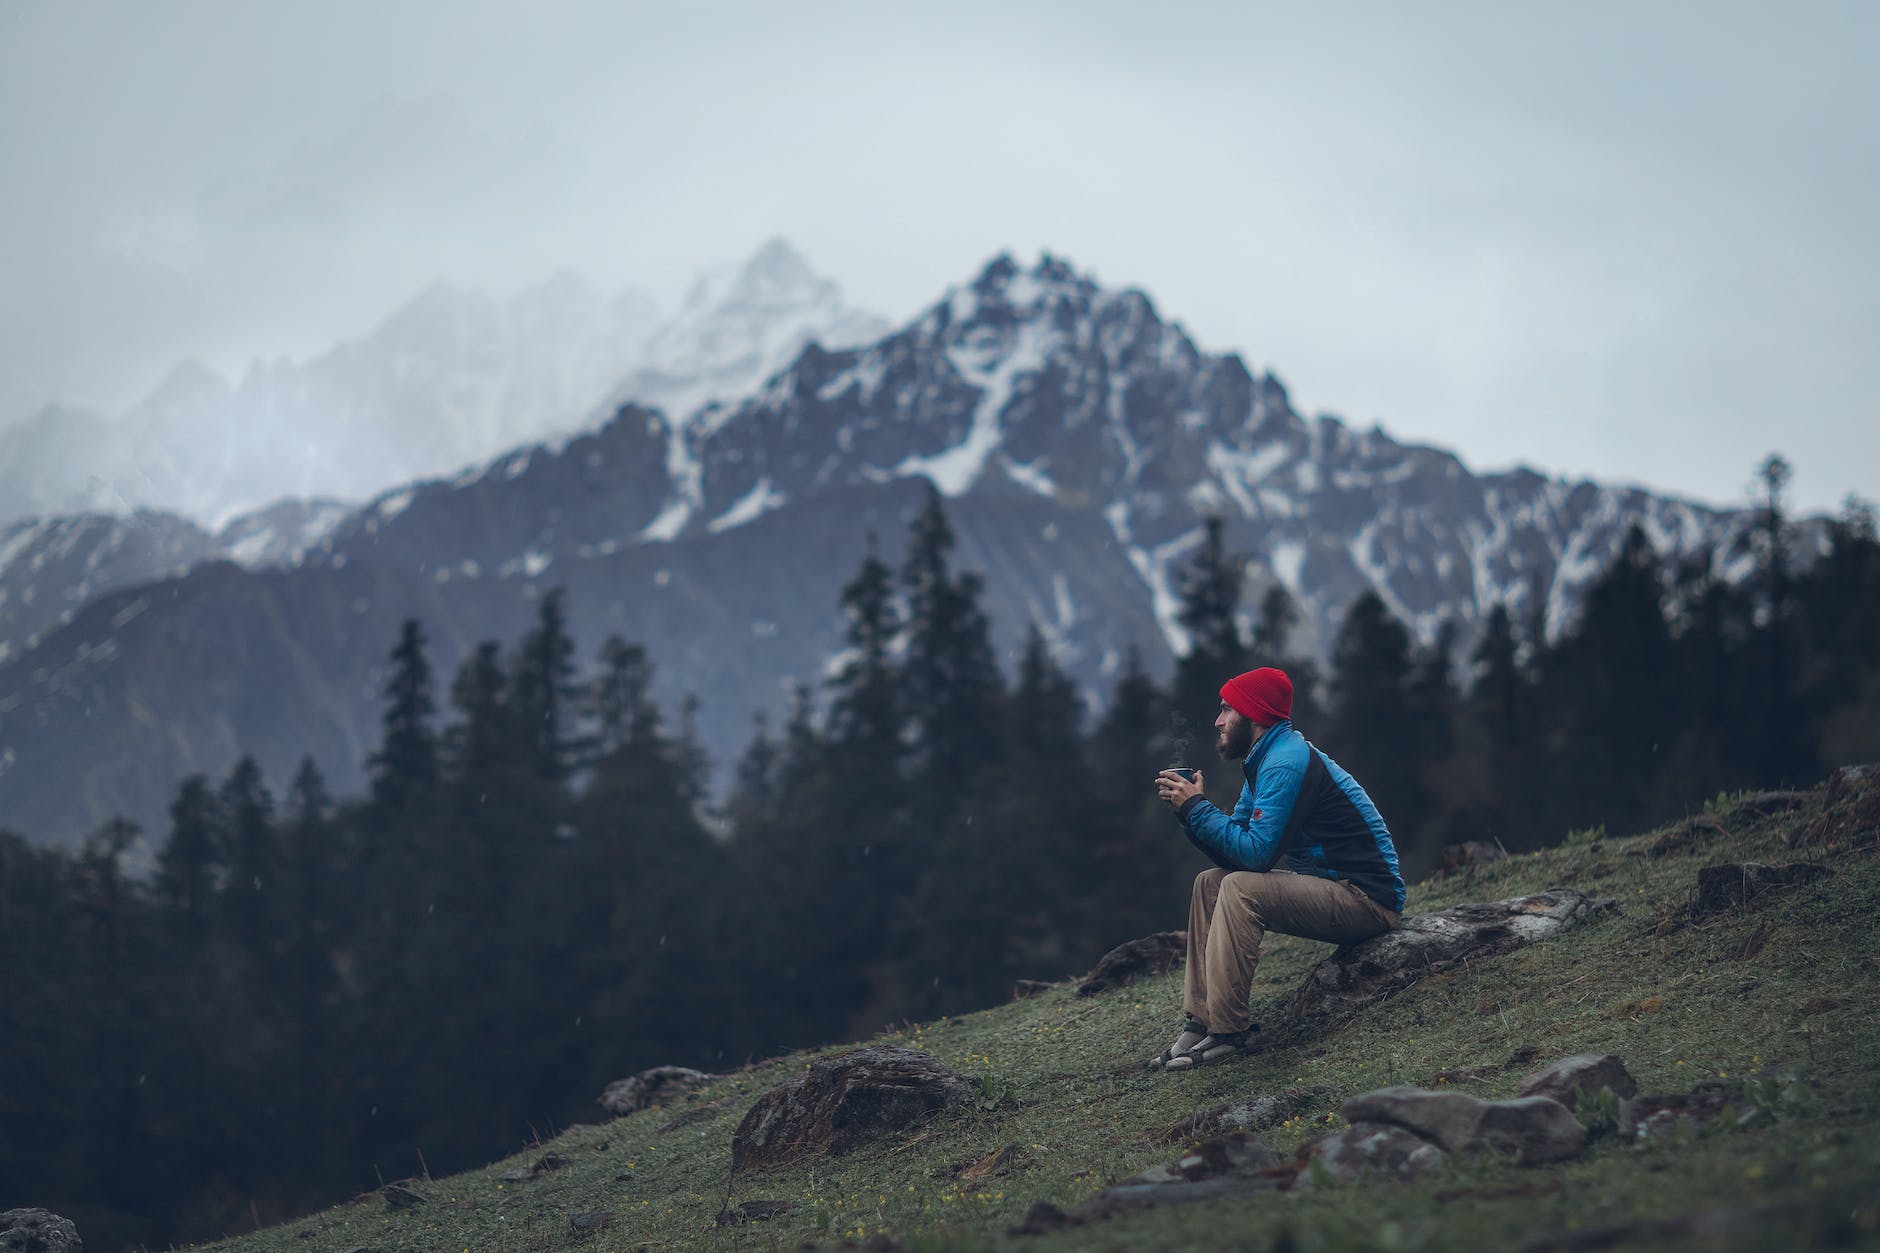
Keep in mind that downhill knee pain can affect anyone. On one particularly steep decent during my thru hike of the Camino de Santiago, I noticed it was more often older and heavier people who had knee pain. However, at age 56 and overweight I had no pain while my 18 year old thin daughter did. Be proactive about protecting your knees and you can prevent pain before it even starts.
(As an Amazon Associate, I earn from qualifying purchases. Many of the links below are paid links.)
Preparation & Equipment Tips
Before you head out to hiking up and down hills and mountains, you should prepare your body and make sure you have the best quality equipment. My first tips for you focus on that preparation.
1. Strengthen your leg muscles. Stronger muscles can support your joints better and absorb more shock when hiking. Focus on exercises that target your quadriceps, hamstrings, calves and glutes, such as squats, lunges, leg presses and bridges. There are several exercise programs that are specifically designed for knees. I have had good luck with this program, Treat Your Own Knee, and have enjoyed using the SCOOP lateral knee cycle as I watch television. Also, work on your balance. This balance disk is great for improving ankle strength and balance.

2. Wear knee braces or sleeves. They can provide compression and stability for your knees, which can prevent or reduce pain and inflammation. I find that Bauerfeind is a top notch brand for sports use. However, braces are not a substitute for proper preparation and technique. You can still injure your knees while wearing them. Another option is to use KT tape to add support to the joint. You can watch how to apply it correctly to the knee here.
3. Use one or two walking poles. Poles can help reduce the load on your knees by up to 25%, as well as improve your balance and stability. Adjust the length of your poles so that your elbows are at a 90-degree angle when holding them. You will need to lengthen them for going downhill. To properly hold a hiking pole, put your hand upward through the wrist loop and hold the grip. This approach allows you to rest your arms against the loops as you hike. When hiking downhill, some hikers switch to a hand-on-top grip as is done with a cane, so that they can use the poles better for balance. Most people prefer poles with cork handles to absorb sweat and flip locks to adjust the height. For most hikers, a budget pair of poles will work fine. If you are a long distance backpacker, however, you might wish to invest in an extra lightweight pair, such as those made by Leki.

4. Wear high quality trail runners, hiking shoes, boots. They can provide better support, cushioning and traction for your feet, which can reduce the strain on your knees. Make sure they fit well and are comfortable. You are looking for stability so that you don’t twist an ankle, but you want to maintain some ground feel so that you can place your feet most safely. Generally, you will want your shoes or boots one size larger than you usually wear so that you have lots of room if your feet swell and room to wiggle your toes. When your shoes are laced tightly, your toes should not butt up against the fronts of your shoes when walking down a step slope. If your toes do hit the front, you are at risk of sore toes, blisters, and losing a nail.
Be aware that there is a pretty healthy debate among hikers regarding boots versus trail runners. Those who love boots insist that the extra ankle support is necessary. The trail runner lovers feel like it doesn’t the ankle support doesn’t really make a difference and trailrunners are lighter and more comfortable. Similarly, there is a debate over waterproof (such as Goretex) and non-waterproof options. Many like the security of waterproof shoes. Others feel that the insides of any shoe or boot will get wet anyway from sweat or streams and non-waterproof shoes will dry out much faster. I prefer non-waterproof trailrunners, but my hiker-daughter swears by waterproof boots.
Hikers also tend to be loyal to their shoe or boot brands. The most commonly used shoe on the Appalachian trail is the Altra Lone Peak. They are famous for their “zero drop” (toe and heel at same level) and wide toe box, and they come in high and low top, waterproof and non-waterproof versions, men’s and women’s. Other popular trail running shoes include Salomon, and Hoka. Some great boots include the Merrell Moab 3 and the Keen Targhee III.
5. Add good insoles. The insoles that come in you shoes or boots are not always ideal, especially if you have problem feet, ankle, hips, or knees. There are some good off-the-shelf options such as Superfeet. However, you might find that custom insoles, either provided by a medical professional or fitted through various online companies, will improve your gait and thereby reduce knee pain. I personally use Upstep custom insoles.
6. Don’t forget good socks. Top quality socks will cushion your feet, keep them dry and warm, and prevent blisters. The majority of hikers and backpackers use wool, and Darn Tough is easily the most popular brand. A small but loyal group, including myself, uses Ininji socks, with the separating toes supposedly providing extra blister protection.
Tips to Use While Hiking
7. Build up the difficulty slowly. Starting any new activity without first building up slowly has the potential to lead to a range of injuries. Gradually increase your distance, elevation and difficulty of terrain. Declines can range in difficulty not just due to steepness and elevation loss. They can be rocky, which risks twisting knees or ankles, or even falling when going downhill. Alternatively they can be muddy or slippery for other reasons. Don’t just assume a hike will be easy because it is downhill. Gain experience with smaller hills so you know how your body, including your knees, will react, so that your muscles are stronger, and so that you have good enough technique to avoid injury.
8. Descend slowly. It is easy to want to rush down a hill to make up for lost time after a slow, steep ascent. However, hiking downhill puts more stress on your knees than hiking uphill, so take your time and don’t rush. Take breaks and always stay in control of your pace.
9. Take smaller steps. Over-striding is another temptation for some. However, this puts you at greater risks of injury or falls. Taking smaller steps reduces the impact on your knees and helps you maintain balance and control. Take your time and enjoy the scenery.
10. Adopt the right position. The best method is to walk tall and in an upright position, keeping your torso over your hips and knees. It can even help to lean slightly forwards to improve stability. Also keep your knees a little bent, or soft, to allow for easier hiking downhill safely.
11. Walk in zigzags. Instead of walking in a straight line down the slope, zigzag back and forth as if you were on switchbacks. Unless the trail is very narrow, you can walk diagonally from one side of the trail to the other. This reduces the steepness of the slope and the stress on your knees. It does take longer than walking straight down, and of course it adds to your mileage, but the relief to your knees can be worth it.
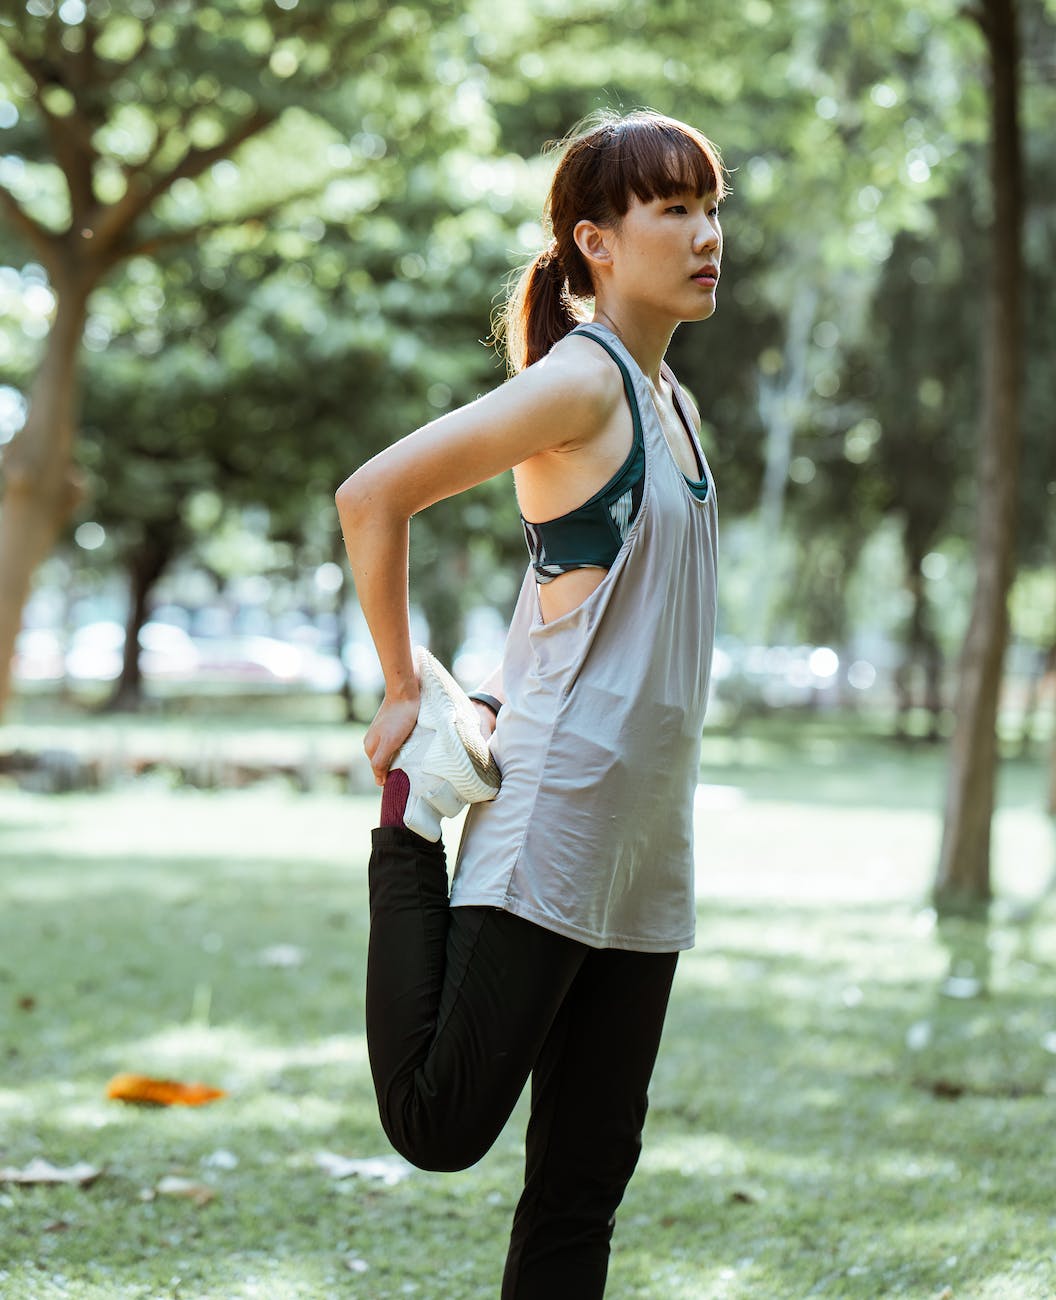
12. Stretch before and after hiking. Stretching can improve your flexibility and range of motion, which can prevent stiffness and injury. Focus on stretches that target your quadriceps, hamstrings, calves and hip flexors, such as standing quad stretch, hamstring stretch, calf stretch and kneeling hip flexor stretch. I often will also stretch mid-hike every time I take a break.
13. Hydrate and fuel properly. Drinking enough water and eating nutritious snacks can help keep your muscles hydrated and energized, which can prevent cramps and fatigue. Aim for at least half a liter of water per hour of hiking, and eat snacks that contain carbohydrates, protein and electrolytes. One guideline a nutritionist shared is to drink every 15 minutes, eat carbohydrates every hour, and eat protein after four hours. This approach works well for me.
14. Rest when needed. It’s is generally more natural to take breaks on uphill sections than on downhills, as downhills don’t tend to get our hearts racing as much. However, taking breaks even on downhill sections can help you recover and prevent overexertion, which can lead to pain and injury. Stop whenever you feel tired or sore, stretch, and elevate your legs if possible to reduce swelling. Particularly focus on massaging and stretch your quads, as they tend to get sore on long downhills.
After Hiking Tips
15. Ice your knees after hiking. Applying ice packs or cold compresses to your knees can help reduce inflammation and pain. Do this for 15 to 20 minutes at a time, several times a day until any pain subsides.
16. Take anti-inflammatory medication. Over-the-counter drugs such as ibuprofen or aspirin can help relieve pain and inflammation in your knees. However, they are not a long-term solution and should be used with caution. Many hikers overuse ibuprofen, often jokingly referred to as “Vitamin I.”
17. See a doctor if the pain persists or worsens. Knee pain that does not improve with rest and home remedies may indicate a more serious problem, such as a sprain, strain, tear or fracture. Seek medical attention if you experience severe pain, swelling, bruising, redness, warmth or difficulty moving your knee. A doctor can refer you to a good sports physical therapist. Personally, I have had luck overcoming knee pain quickly with dry needling, a form of acupuncture. In the United States, some physical therapists and chiropractors offer dry needling.
Summary
I hope these tips help you enjoy hiking downhill without knee pain. Be proactive about taking care of your knees, and you will prevent a problem before it even starts. For uphill hiking tips, please read my post, The 25 Best Health and Fitness Benefits of Uphill Hiking.

